MongoDB provides a User Management Interface for performing a wide variety of user-related tasks. In addition to adding new users, the User Management Interface also allows database administrators (DBAs) to update existing users, such as to change password and grant or revoke roles. In today's blog, we'll explore how to create a new user using Navicat for MongoDB's User & Role Management facilities.
How MongoDB Stores User Data
It's important to know what happens when you create a new user in MongoDB. The user's data is inserted in a specific database called the authentication database. Moreover, MongoDB stores all user information, including name, password, and the user's authentication database, in the system.users collection in the admin database.
The user's name and authentication database together serve as a unique identifier for that user. Therefore, if two users have the same name but are created in different databases, they are considered to be two separate users for all intensive purposes. Hence, if you intend to have a single user with permissions on multiple databases, you should create a single user with roles in the applicable databases instead of creating the user multiple times in different databases.
Regarding privileges, these are not limited to the user's authentication database, but can extend across different databases. By assigning to the user roles in other databases, a user created in one database can have permissions to act on these databases.
Creating a New User
DBAs should not access the system.users collection directly, but instead use MongoDB's user management commands. Creating a user is accomplished using the db.createUser() method or createUser command.
Here's an operation that creates a user in the employees database and assigned his/her name, password, and roles:
use employeesdb.createUser(
{
user: "tsmith",
pwd: "ascend99",
roles: [
{ role: "read", db: "employees" },
{ role: "read", db: "products" },
{ role: "read", db: "sales" },
{ role: "readWrite", db: "accounts" }
]
}
)
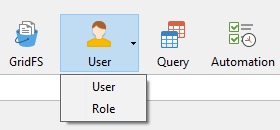
Navicat provides the powerful User Designer tool for managing server user accounts and their associated privileges. It stores all users' information and privileges on the server, because it employs MongoDB's native commands behind the scenes. You'll find the User or Role command in the main window toolbar. Click the button to open the user/role object list:

The User Designer Tool at a Glance
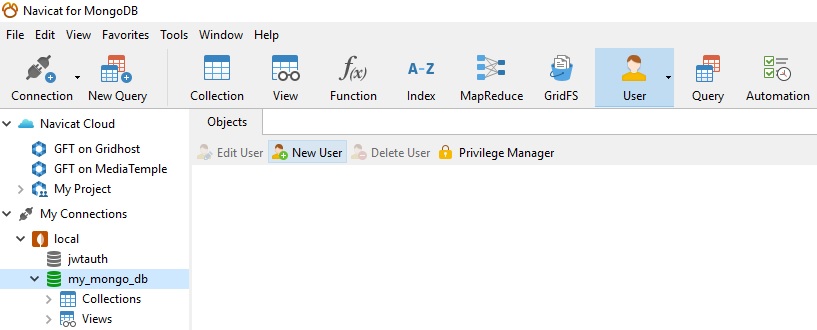
Choosing the User item from the user/role object list opens a new Objects toolbar with User-related commands:

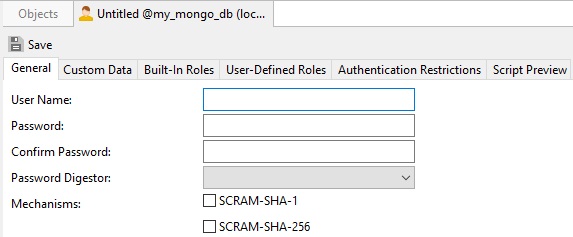
To create a new user, click the New User button. That will open the User Designer tool:

The User Designer is broken up into several tabs as follows, from left to right:
- General:
The user name, password, encryption specification. - Custom Data:
In this tab, you can enter any information associated with this user. - Built-In Roles:
In the list, assign this user to be a member of the selected built-in roles. - User-Defined Roles:
In the list, assign this user to be a member of the selected user-defined roles. - Authentication Restrictions:
To edit specific authentication restrictions that the server enforces on the user. - Script Preview:
Displays the native MongoDB command(s) that will be executed.
To add the above user in Navicat:
On the General Properties tab:
- Enter the User Name.
- Specify a login password for the user.
- Re-type the login password in the Confirm Password field.
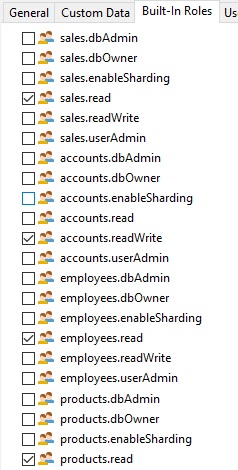
- Next, on the Built-in roles tab, we would select the following roles:

- You can preview the generated command on the Preview tab:
db.createUser({
user: "tsmith",
pwd: "ascend99",
roles: [
{
role: "read",
db: "sales"
},
{
role: "readWrite",
db: "accounts"
},
{
role: "read",
db: "employees"
},
{
role: "read",
db: "products"
}
],
authenticationRestrictions: [ ]
})
- Click the Save button to create the new user.


